I’ve always been fascinated by the potential of cardboard as a crafting material. From simple household items to creative toys and decorations, cardboard can be transformed into a wide range of innovative projects.
Thank you for reading this post, don't forget to subscribe!In this article, I’ll be sharing 14 amazing DIY projects that are not only fun to make but also environmentally friendly by repurposing materials you’d normally recycle. These projects range from practical household items to creative toys and decorations that will spark your creativity.
By exploring the versatility of cardboard as a crafting material, you’ll discover how it can be used to create beautiful, functional, and fun creations. Whether you’re working with shipping boxes, cereal boxes, or cardboard tubes, the possibilities are endless.
Key Takeaways
- Discover 14 fun and creative DIY projects using cardboard.
- Learn how to repurpose cardboard materials for household items and decorations.
- Explore the versatility of cardboard as a crafting material.
- Find inspiration to transform your recycling bin treasures into beautiful creations.
- Get started with simple and environmentally friendly crafting projects.
Why Cardboard Is a Crafter’s Best Friend
As a crafter, I’ve discovered that cardboard is one of the most versatile materials available. It’s readily available in almost every household, from Amazon shipping boxes to cereal containers, making it a perfect material for those looking to create something new without spending a fortune.
Versatility and Accessibility
The benefits of working with cardboard are numerous. Here are a few reasons why it’s a favorite among crafters:
- It’s incredibly affordable, often free, making it perfect for budget-conscious crafters.
- The versatility of cardboard boxes and other cardboard materials is unmatched – they can be cut, folded, painted, and transformed in countless ways.
- Working with cardboard is environmentally friendly, giving new life to materials that would otherwise end up in the recycling bin.
By embracing crafting with cardboard, you’re not only being creative but also reducing waste. With its natural neutral color, cardboard provides an excellent base for various decorating techniques, making it a great material for crafters of all levels.
Essential Materials for Cardboard Crafting
To get started with cardboard crafting, you’ll need a few essential materials. Having the right tools and supplies can make a significant difference in the quality and enjoyment of your crafting experience.
Tools and Supplies You’ll Need
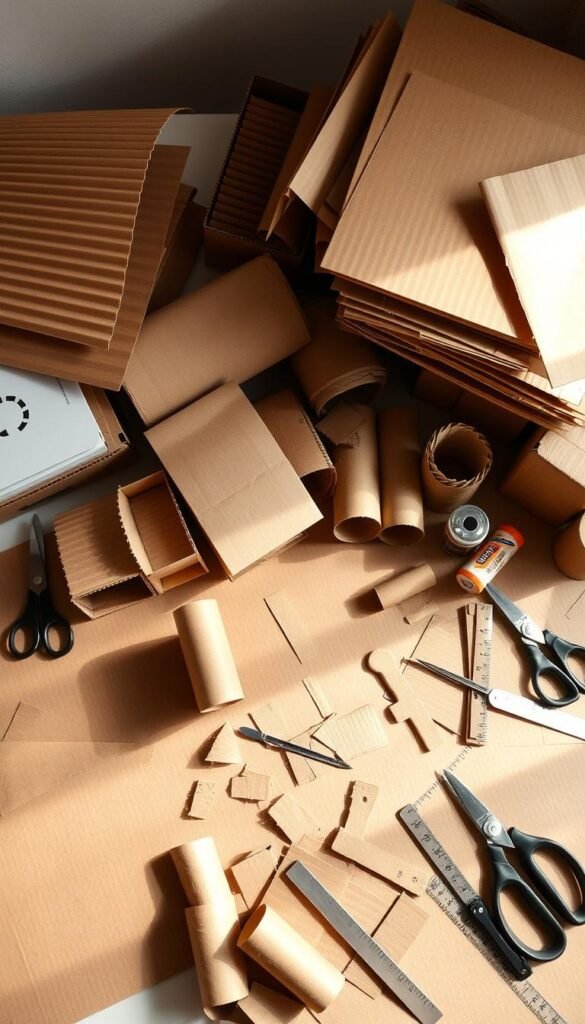
First and foremost, you’ll need a good supply of cardboard. This can come from leftover shipping boxes, cereal boxes, or any other cardboard materials you have on hand. You’ll also need some basic cutting tools like scissors or a box cutter.
In addition to cardboard and cutting tools, you’ll need various adhesives like glue. White glue is great for paper applications, while hot glue provides stronger bonds for heavier elements. Don’t forget about tape, which comes in handy for both temporary holds and reinforcement. Masking tape, clear packing tape, and decorative washi tape are all useful to have on hand.
Other materials that can enhance your cardboard crafts include paint, markers, colored paper, and fabric scraps. These decorative elements can help transform plain cardboard into vibrant creations. It’s also a good idea to keep a dedicated craft bin with these supplies to stay organized.
| Material | Use |
|---|---|
| Cardboard | Base material for crafts |
| Glue | Adhesive for bonding materials |
| Tape | Temporary holds and reinforcement |
| Scissors | Cutting cardboard and other materials |
Cardboard Coasters
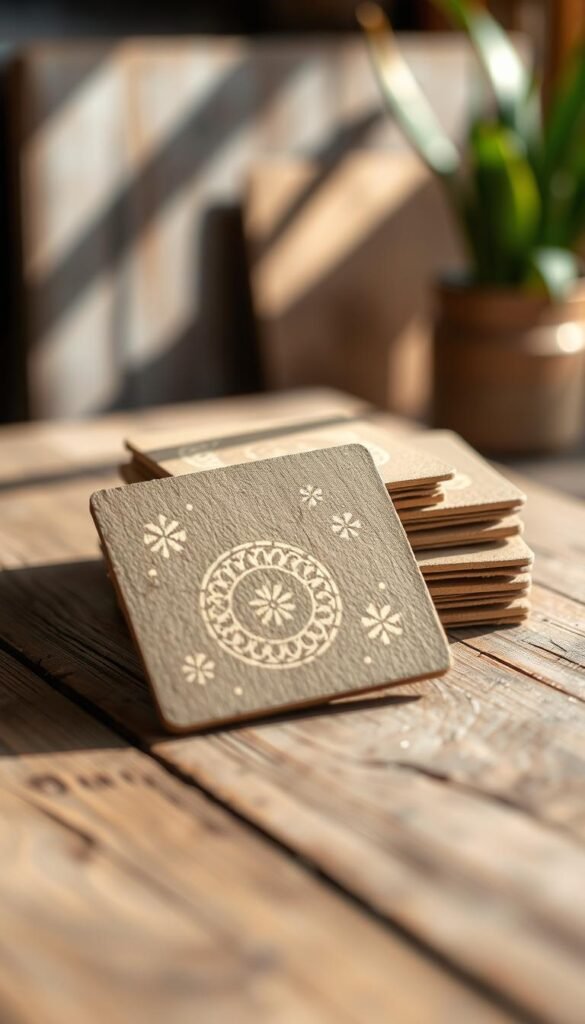
With a little creativity, cardboard boxes can become stylish and functional coasters. This simple DIY project is perfect for reusing cardboard before recycling it.
Stylish Drink Protection from Recycled Boxes
I’ve found that cereal and gift boxes make great material for coasters due to their thickness and interesting patterns. To create these coasters, I cut the cardboard into squares or circles and seal them with mod podge or clear contact paper.
- Customize your coasters with paint, decorative paper, or monograms for a personal touch.
- These coasters are perfect for parties and can be themed to match the occasion.
- They also make great gifts when bundled with twine and a personalized tag.
The result is a practical and eco-friendly idea that gives new life to old boxes. When they eventually wear out, they can be recycled, making this a truly sustainable craft project.
DIY Fire Starters
Repurposing cardboard tubes and dryer lint into fire starters is a simple yet effective project. This method is not only practical for outdoor enthusiasts but also an environmentally friendly way to reuse items that would otherwise end up in the trash or recycle bin.
Practical Upcycling for Outdoor Enthusiasts
I discovered an ingenious way to make fire starters using cardboard tubes, dryer lint, and wax paper or newspaper. The process involves stuffing toilet paper or paper towel tubes with dryer lint, then wrapping the filled tube in newspaper or wax paper. This creates a slow-burning wick that makes starting a fire effortless.
- Making these fire starters is a great way to reuse things you’d normally toss.
- The cardboard tube acts as a slow-burning wick, while the lint catches fire quickly.
- I like to make these in batches during laundry day and store them in a dry container.
Here’s a simple table to summarize the materials needed:
| Material | Quantity | Purpose |
|---|---|---|
| Cardboard Tube | 1-2 | Acts as a slow-burning wick |
| Dryer Lint | As needed | Flammable material |
| Wax Paper or Newspaper | 1 sheet | Wraps the fire starter |
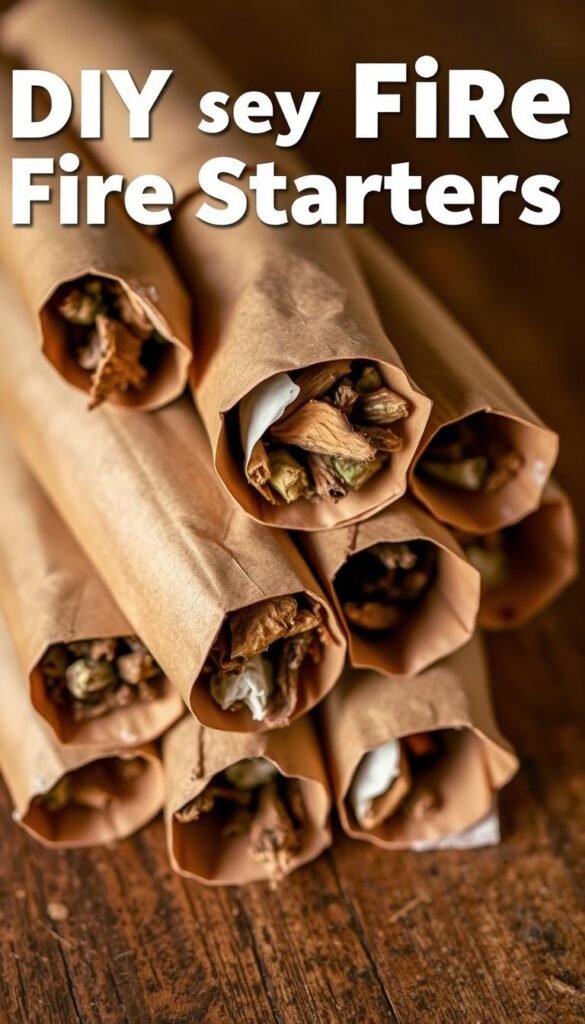
By making your own fire starters, you’re not only reducing waste but also creating a useful product for camping trips or backyard gatherings. It’s a simple, effective, and eco-friendly project that’s worth trying.
Homemade Flower Press
With a few pieces of sturdy corrugated cardboard, you can create a simple flower press to preserve your favorite blooms. This craft is not only fun but also a great way to upcycle materials you might otherwise throw away.
Preserving Nature’s Beauty
To make your flower press, start by layering two sheets of cardboard with your flowers sandwiched between absorbent paper. Tie the layers together tightly with string to apply pressure.
The pressing time will vary depending on the type of flowers you’re using. Delicate blooms may be ready in a few days, while thicker flowers might need a week or more to fully dry and flatten.
- Create a “sandwich” of cardboard, paper, flowers, and more paper.
- Apply pressure using heavy books or by binding tightly with string.
- Leave the press for a few hours or days.
| Flower Type | Pressing Time |
|---|---|
| Delicate Blooms | 2-3 days |
| Thicker Flowers | 7-10 days |
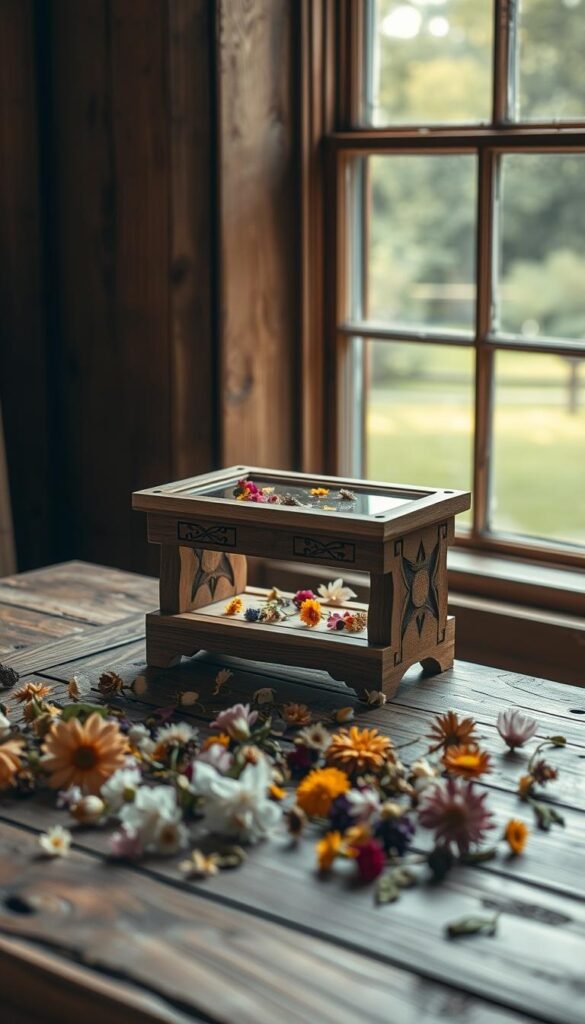
Once your flowers are pressed, you can use them to decorate handmade cards, bookmarks, or framed art. This craft connects us to traditions that go back centuries, preserving nature’s beauty for years to come.
Wall Decor from Cardboard
Cardboard wall decor is a fantastic way to add a personal touch to your living space without breaking the bank. I’ve discovered that with a little creativity, cardboard can be transformed into stunning wall art that’s both eco-friendly and budget-friendly.
Creative Techniques for Cardboard Wall Decor
One of my favorite approaches is to cut cardboard into interesting shapes, then cover them with fabric or decorative paper. You can also paint bold designs onto the cardboard for a unique piece of art. For a more textured look, layering different sizes of cardboard pieces creates a 3D effect that casts interesting shadows on the wall, adding depth to your decor.
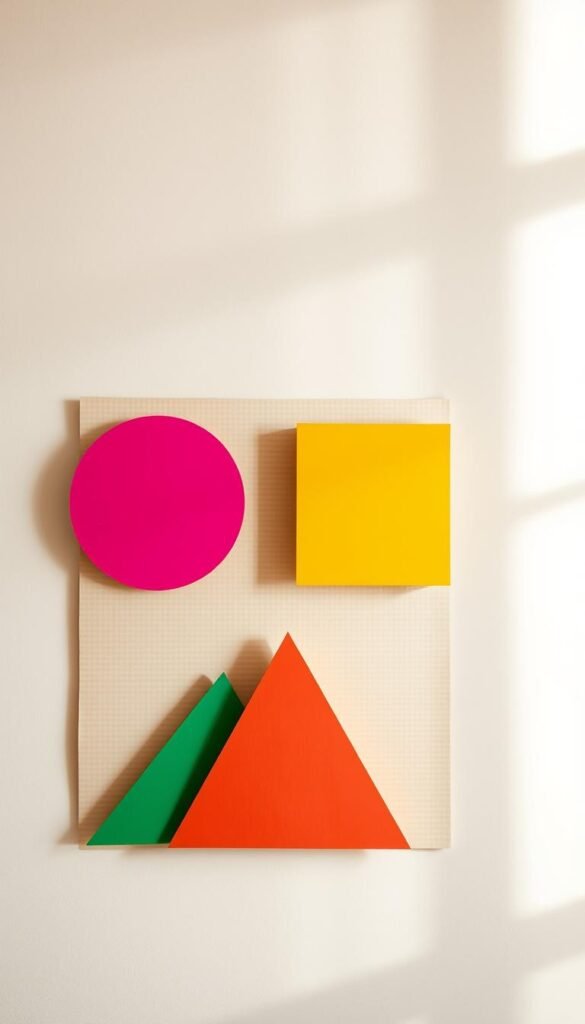
Using cardboard for wall decor is not only creative but also practical, as it’s lightweight and easy to hang without damaging your walls. This makes it an ideal solution for renters or those looking for temporary decor solutions.
Seasonal Cardboard Crafts
From Valentine’s Day to Christmas, cardboard crafts provide a versatile and cost-effective way to decorate our homes for various holidays and seasons.
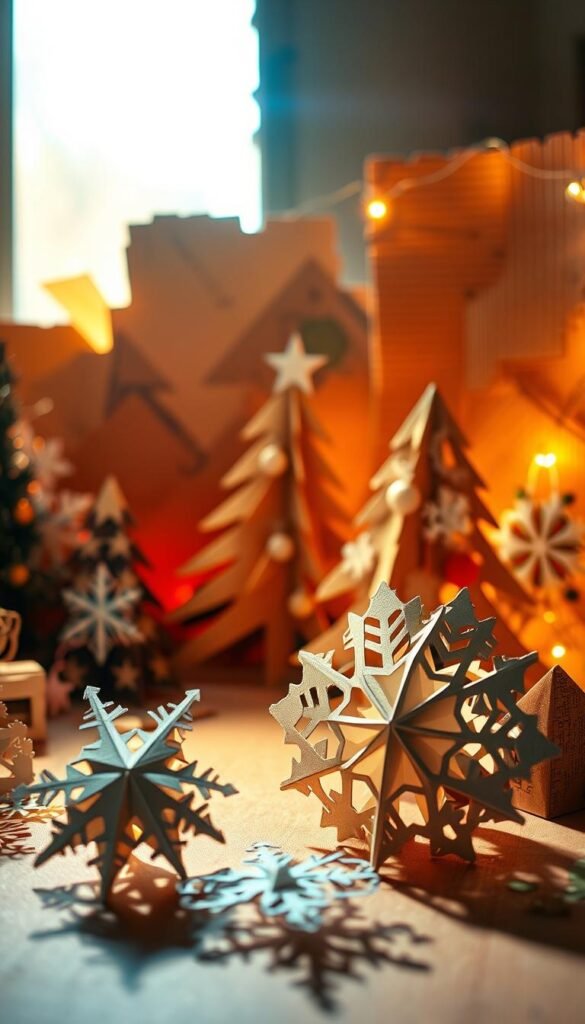
For instance, I’ve made heart garlands by cutting heart shapes from cardboard, painting them in reds and pinks, and stringing them together with twine for a charming mantel decor. Similarly, Halloween offers endless crafts possibilities, from spooky silhouettes for windows to ghost wreaths made from cardboard cutouts painted white and hung in a circle.
Holiday-Specific Projects and Decorations
- Creating seasonal decorations from cardboard is inexpensive and can be made to look incredibly festive and professional.
- For Christmas, cardboard can be transformed into ornaments, advent calendars, or even a tabletop Christmas tree.
- These projects are perfect for crafting with children, creating family traditions around making new decorations for each holiday.
What makes seasonal cardboard crafts so practical is that they can be stored flat between seasons, taking up minimal storage space compared to bulky store-bought decorations.
No-Maintenance Cardboard Cactus Garden
If you’re looking for a low-maintenance decorative idea, consider making a cardboard cactus garden. This creative project allows you to enjoy the aesthetic of cacti without the hazards associated with real plants.
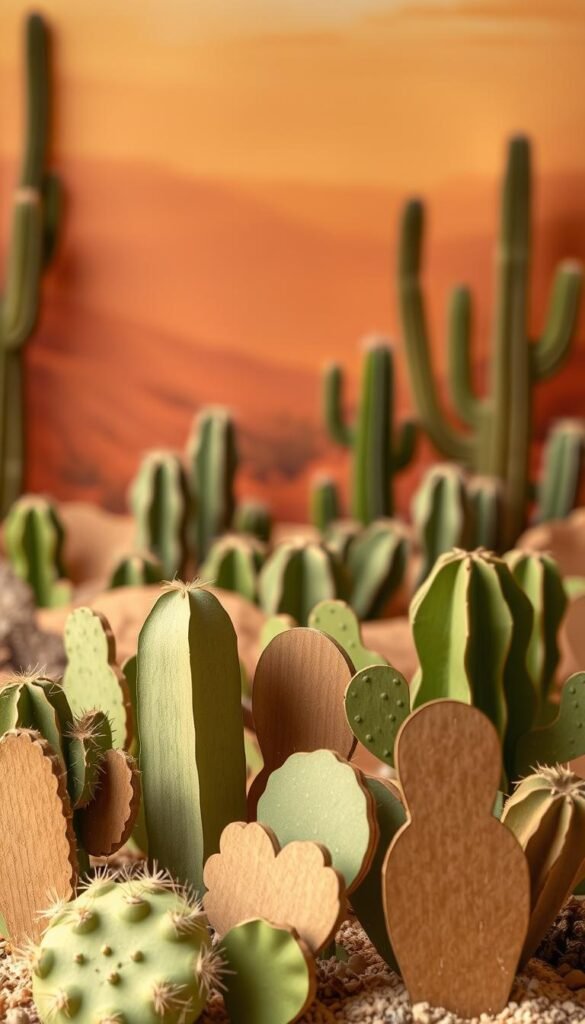
Desert Decor Without the Prickles
The process involves cutting out various cactus shapes from cardboard, painting them in shades of green, and adding occasional pink or yellow accents for “flowers.” You can customize the size of your garden to fit your space, from a miniature desktop garden to a larger statement piece.
- Create a charming and customizable decorative piece.
- Enjoy the desert vibes without maintenance or safety concerns.
- Use recycled cardboard to create a unique faux cactus garden.
This idea is perfect for those with less-than-green thumbs or homes with curious children and pets. The result is a beautiful, conversation-starting garden that looks like it could be store-bought.
Pet-Friendly Cardboard Projects
As a pet owner, I’ve discovered that cardboard can be a fantastic resource for creating engaging and entertaining projects for my pets. Many animals, especially cats, have a natural affinity for cardboard boxes and can turn them into playgrounds.
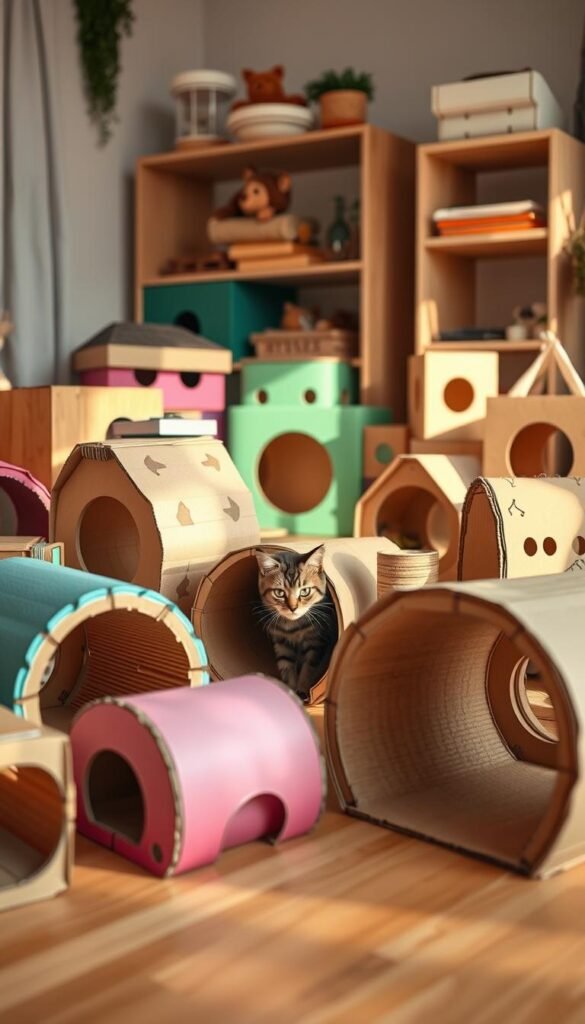
One of my cats’ favorite creations is a simple cardboard box cave. I cut an entrance hole in a sturdy box, lined it with an old t-shirt for comfort, and instantly created a cozy hideaway.
Crafts for Your Furry Friends
For more active pets, I’ve made puzzle toys by cutting holes in a box and hiding treats inside, encouraging natural foraging behaviors. These projects are not only fun but also provide enrichment and comfort for animals without the high cost of store-bought pet furniture and toys.
Upcycled Gift Box Planters
While cardboard isn’t ideal for holding real plants, it’s perfect for creating decorative planters. I’ve transformed ordinary gift boxes into charming planters that look like they came from an upscale home decor store – all it takes is some paint, decorative elements, and a bit of creativity.
Creative Techniques for Upcycling
My favorite technique involves painting gift boxes with chalk paint for a matte, pottery-like finish. I then add details like jute twine around the rim or decorative patterns using stencils. For a more luxurious look, I sometimes cover the boxes with fabric remnants or decorative paper before adding final embellishments like wooden beads or small ceramic ornaments.
These planters are perfect for artificial plants, dried arrangements, or air plants that require minimal watering. They make wonderful gifts when filled with a small artificial succulent or air plant – they’re personal, eco-friendly, and much more meaningful than store-bought alternatives.
| Technique | Description | Materials Needed |
|---|---|---|
| Chalk Paint Finish | Matte, pottery-like finish | Chalk paint, paintbrush |
| Jute Twine Accent | Adds a rustic touch | Jute twine, scissors |
| Fabric Covering | Gives a luxurious look | Fabric remnants, glue |
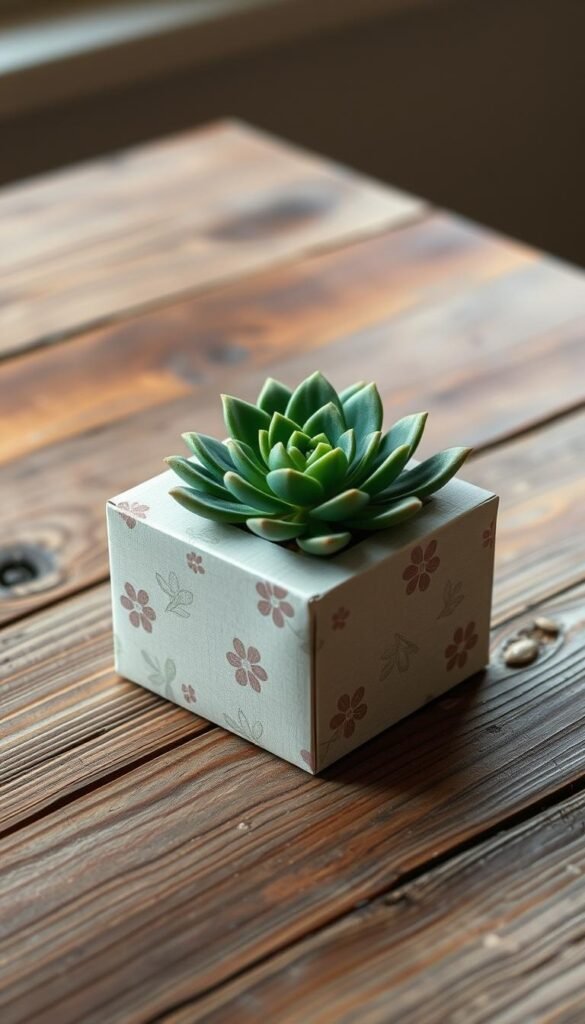
I’ve created themed collections for different seasons, like white-washed boxes with pine sprigs for winter or bright floral-patterned boxes with colorful faux flowers for spring. With a little creativity, you can turn any gift box into a beautiful planter that adds a touch of elegance to any room.
Cardboard Storage Solutions
Organizing your home with cardboard storage is an eco-friendly and cost-effective solution. By repurposing cardboard boxes and bins, you can create a functional and attractive storage system.
Creative Storage Ideas
I’ve found that transforming cardboard into storage solutions is a great way to reduce waste and declutter my home. For instance, long tissue boxes can be turned into stylish baskets, while empty cereal boxes can become drawer dividers or desktop organizers.
- Use tissue boxes to create small drawer organizers by cutting them to the desired height and covering them with decorative paper or fabric.
- Transform shoe boxes into stylish bins by covering them with fabric, adding rope handles, and creating custom labels.
- Repurpose cardboard boxes to organize your home office, craft space, or children’s room.
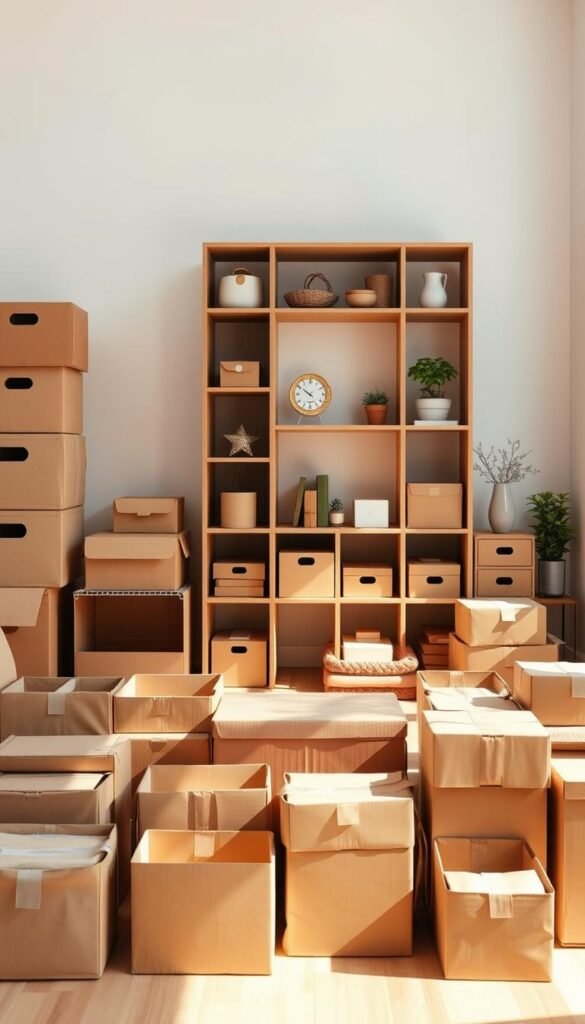
By adding coordinating decorative elements to your cardboard storage pieces, you can create a custom organization system that looks intentional and designed.
Cardboard Playhouses and Toys
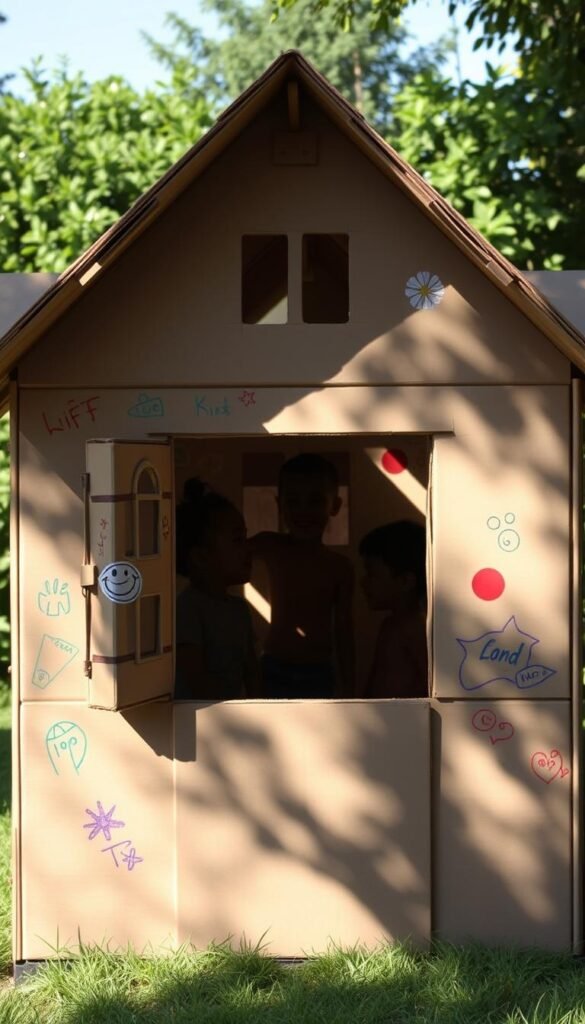
Cardboard boxes can be transformed into magical playhouses with a little creativity. I’ve seen my kids’ faces light up when we turn a large box into a cozy cottage or a spaceship.
Fostering Imagination and Creativity
The beauty of cardboard playhouses lies in their customizability. Kids can help design and decorate their own play spaces, fostering creativity and giving them ownership of the project. For durability, reinforcing seams with strong packing tape and covering the floor with additional cardboard layers can make these playhouses last.
- Cardboard can be turned into various toys and play structures, such as play kitchens, puppet theaters, and even vehicles.
- Smaller boxes and tubes become doll furniture, toy cars, or building blocks, creating entire play systems.
These cardboard creations not only encourage eco-friendly practices but also promote open-ended play, crucial for cognitive and social development in kids.
Miniature Cardboard Worlds
With cardboard, you can create entire miniature environments that tell a story. I enjoy making miniature dioramas using cardboard and other recycled materials.
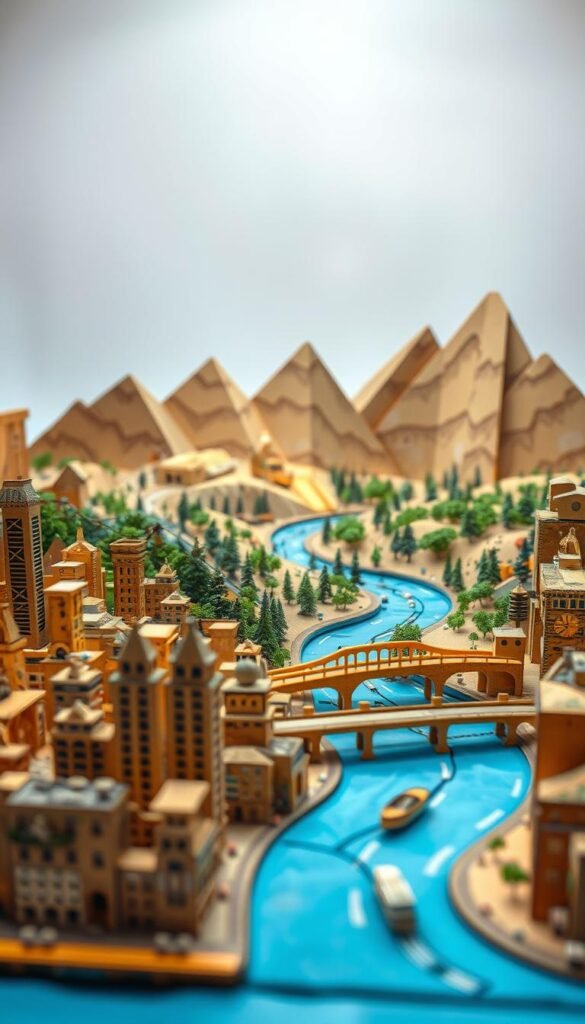
For instance, if your child loves animals, why not create a mini jungle or safari scene out of cardboard boxes? Use multiple boxes to build different levels, like a multi-storey playground, and add painted forms of trees, vines, and grass.
Detailed Dioramas and Scenes
You can paint a background or add fabric cutouts for leaves. Slip in some plastic or paper animals and let them roam. For making miniature snow scenes for Christmas or winter, consider using the cardboard coffee cup sleeve from your last Starbucks run.
| Miniature Scene | Materials Needed | Tips |
|---|---|---|
| Jungle Scene | Cardboard boxes, paint, fabric cutouts | Add plastic or paper animals |
| Winter Wonderland | Cardboard coffee cup sleeve, artificial snow | Create charming cabin-style Putz houses |
As I always say, “The art of creating miniature worlds is all about attention to detail.” By adding tiny elements like paper leaves on trees or tiny pebbles for pathways, you can bring your miniature scenes to life.
Custom Board Games from Cardboard
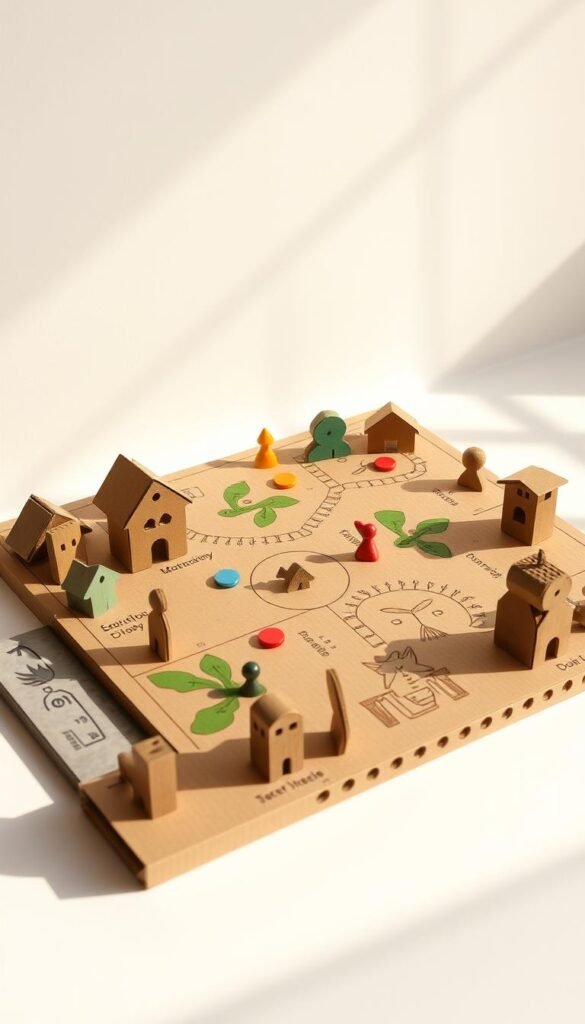
With cardboard, you can create a personalized board game that’s tailored to your interests. This fun project allows you to design a unique game experience.
Tabletop Entertainment on a Budget
To start, cut out a large piece of sturdy cardboard to serve as the game board. You can then decorate it with markers, paint, or collaged paper. Add game pieces made from small cardboard cutouts or other materials.
- Personalize your game with family photos or inside jokes.
- Create challenges or trivia questions tailored to the players’ interests.
- Use bottle caps or clay figures as game pieces.
These custom board games make great gifts or a fun family activity, all while being budget-friendly.
Bookshelf and Cabinet Makeovers
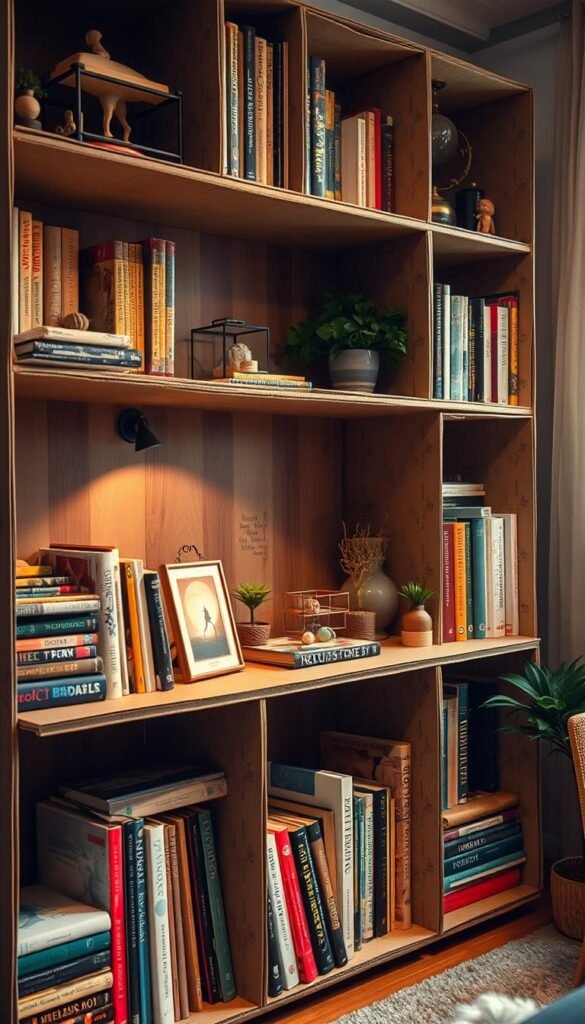
Give your bookshelves a fresh new look without committing to permanent changes with cardboard crafts. I’ve transformed boring bookshelves and cabinets into designer-looking furniture pieces using nothing more than cardboard and decorative materials.
Temporary Decorative Transformations
The technique is simple: measure and cut cardboard to fit the back panel of each shelf, then cover it with decorative paper, fabric, or paint before sliding it into place. This method is perfect for renters or those who are design-indecisive, as the cardboard backings can be removed or changed seasonally without damaging the original furniture, giving your bookcase or cabinet a fancy makeover.
Conclusion: The Endless Possibilities of Easy Cardboard Crafts
As we conclude this journey through the world of cardboard crafts, I hope you’re feeling inspired to unleash yourcreativity. The projects we’ve explored demonstrate the versatility of cardboard, from practical storage solutions to decorative accents and children’s toys.
I hope these 14 easy cardboard crafts have inspired you to look at your recycling bin with new eyes, seeing the potential in materials we often discard. Cardboard crafting combines sustainability with creativity, allowing us to reduce waste while expressing ourselves artistically.
Start with simple projects like coasters or a flower press, and as you gain confidence, move on to more complex creations. Remember, imperfection is part of the charm of handmade items – enjoy the process and the satisfaction of creating something unique.
FAQ
What are some creative ways to reuse old cardboard boxes?
How can I make my cardboard crafts more durable?
What are some fun cardboard projects to do with kids?
Can I use cardboard tubes for crafting?
How can I store my cardboard crafting supplies?
Related Posts
- 23 Easy diy summer crafts make and sell ideas
I'm sharing my favorite Diy summer crafts that are perfect for making and selling this…
- 5 Easy DIY Wall Art Projects Using Recycled Materials
Are you ready to transform your home with stunning wall art made from recycled materials?…
- 10 Profitable DIY Projects to Sell: Turn Your Crafting Passion into Cash!
Are you ready to transform your crafting passion into a profitable side hustle? In today's…

